Add a Newsletter Signup Form to Facebook
If you manage an eNewsletter campaign, you know that increasing your subscriber base is a nonstop challenge. In our last article, we cited 10 easy ways to increase email newsletter signups, including social network integration. Including a newsletter signup form on your Facebook page gives users another outlet to opt-in to your newsletter, and can provide a major boost to your subscriber list. This is a relatively easy process, especially if you use an email marketing service.
The Easy Way
Some email marketing services integrate seamlessly with Facebook, offering a link on their signup form page, which makes adding a form to Facebook automatic and painless for the end-user. The following email marketing services offer a 1-click integration tool for adding your newsletter signup form to Facebook:
The Not-So-Easy Way
Some email marketing services do not have a 1-click integration for adding their signup form to Facebook, and these services require users to manually generate the code themselves and add it to Facebook.The following email marketing services do not offer a 1-click integration tool for adding your newsletter signup form to Facebook:
We used Benchmark Email to complete this process, but you can use any email marketing service of your choice (provided they supply you with the code for the signup form).
#1: Generate Code with an Email Marketing Service
- Log into Benchmark Email
- Click "Lists" > "Signup Forms"
- Find the subscription form you want to use or Create a New Signup Form
- TIP: Create a separate signup form and list for your Facebook account, so you can track those sign-ups separately and see how that network performs compared to your websites.
- Click "Get Code" and Copy the Code

#2: Install iFrame Tabs on Facebook Page
- Log into your Facebook account
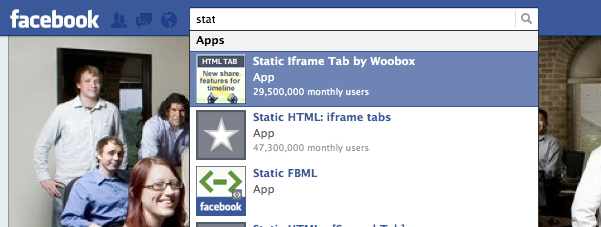
- Use the Search Bar at the top, and do a search for "Static iFrame Tab by Woobox" and select the app
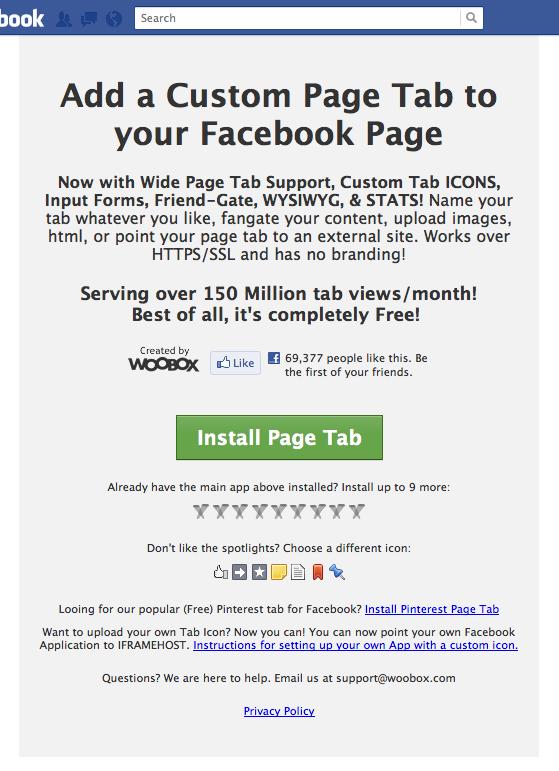
- Click "Install Page Tab" to install application
- Select the Facebook Pages you want to Add Your Newsletter Form to and click "Add Page Tab" NOTE: You must be an admin of the page

- It will redirect you to your company's page
- Authorize the App
#3: Paste Code
- On your company's page, find the "Manage" drop-down menu (top-right) and click "Edit Page"
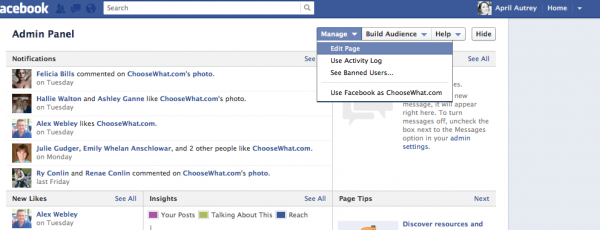
- Click "Apps" in the left-nav, and find the Static iFrame Tab you just installed. Click the "Edit Settings" link
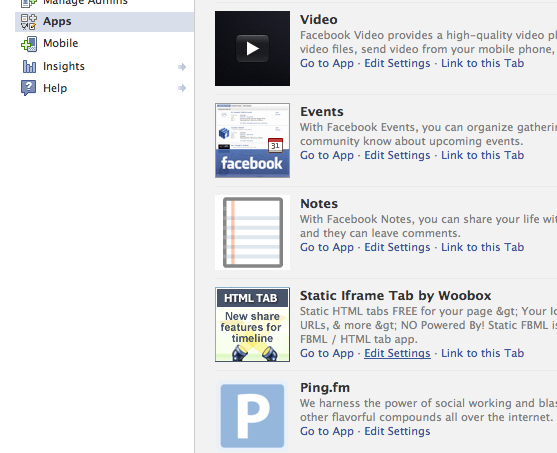
- Type the Name of the Custom Tab you want to add, and click "Save"
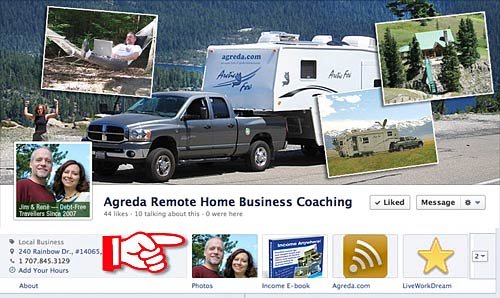
- Go back to your Company's Page and Look under your timeline picture. Click the tab you just added
- Click "Settings" and paste the code in the Page Source box (make sure the HTML radio button is clicked

- Click "Save Settings"
#4: Test Sign-up
**This process used Static iFrames instead of FBML. FBML is being deprecated, according to Facebook. On Jan 1, 2012 FBML will no longer be supported and on June 12, 2012 FBML apps will no longer work.

